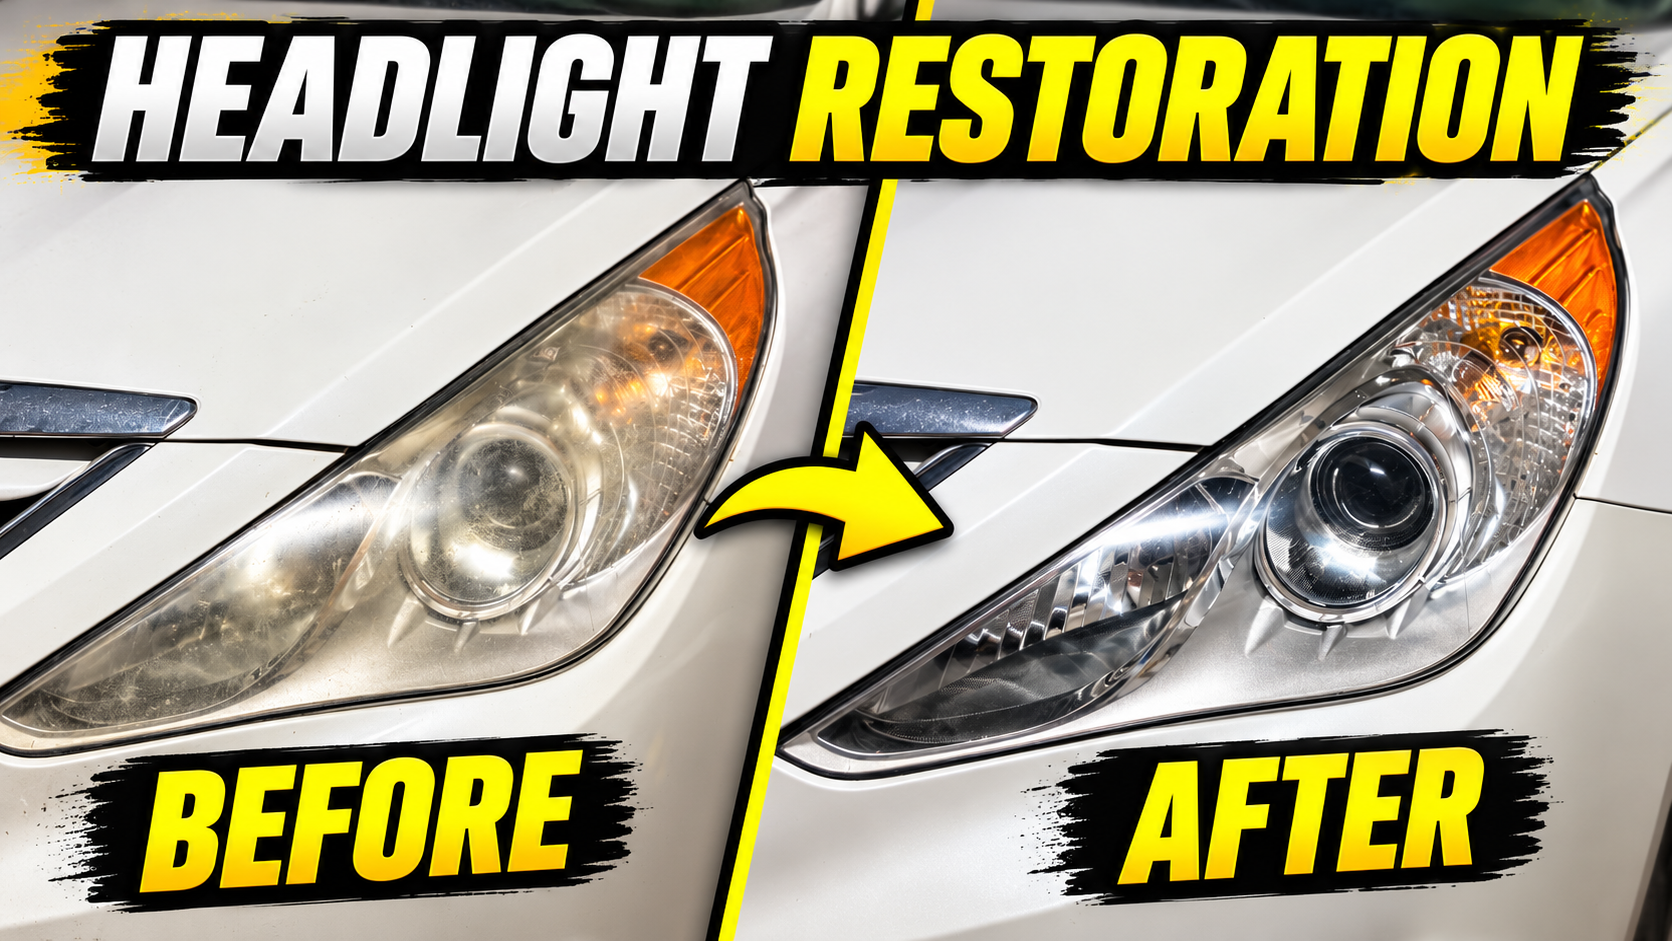
Most modern headlight lenses are plastic and have a protective coating. Sunlight and normal weathering can wear that surface down, leaving the lens hazy. A restoration removes the damaged outer layer and refines the surface. The work takes patience: keep the lens clean and wet while sanding, and use light, even pressure.
What you’ll need
Automotive soap and water, clean microfiber towels, masking tape, waterproof 2000 and 3000 grit sandpaper, a spray bottle or clean water, plastic-safe headlight polish, and a compatible UV-protective headlight coating. If using a machine polisher, use a suitable pad and follow its manufacturer’s instructions.
Steps for headlight restoration
- Clean the headlight. Wash the lens and nearby bodywork with soap and water to remove grit that could scratch the surface. Rinse thoroughly and dry. Inspect the lens, then mask the paint and trim around it carefully.
- Wet sand with 2000 grit. Soak the waterproof paper and keep both it and the lens wet throughout sanding. Work evenly across the lens using light pressure and overlapping strokes. Rinse away residue and check your progress often. Avoid dry sanding or concentrating pressure in one spot.
- Refine with 3000 grit. Use fresh, wet 3000 grit paper to refine the sanding marks left by the 2000 grit. Keep the surface lubricated, use even strokes, and rinse the lens clean before inspecting it. The lens may look uniformly cloudy at this point; that fine haze is expected before polishing.
- Polish the lens. Apply a small amount of plastic-safe headlight polish and work it over the lens with a clean microfiber cloth or appropriate polishing pad. Use controlled, even passes. Wipe away residue and inspect the clarity; repeat only as directed by the polish manufacturer.
- Apply UV protection. Once the lens is clean and completely dry, apply a compatible UV-resistant coating or sealant exactly as its label directs. Respect its cure time before touching or exposing the lens. This protective finish matters because an unprotected lens can haze again.
Take your time with the finish
Keep each sanding stage consistent and clean the lens between steps so leftover abrasive does not carry over to the next grit. If the lens has cracks, deep damage, moisture inside the housing, or remains cloudy after a careful restoration, it may need professional assessment or replacement. Results depend on the lens condition and the products used.
For drivers in St. George, Ivins, and nearby Southern Utah communities, regular washing and maintaining the lens’s protective coating can help keep headlights looking clearer between restorations. When in doubt, a professional detailer can assess the lens and recommend the right approach.